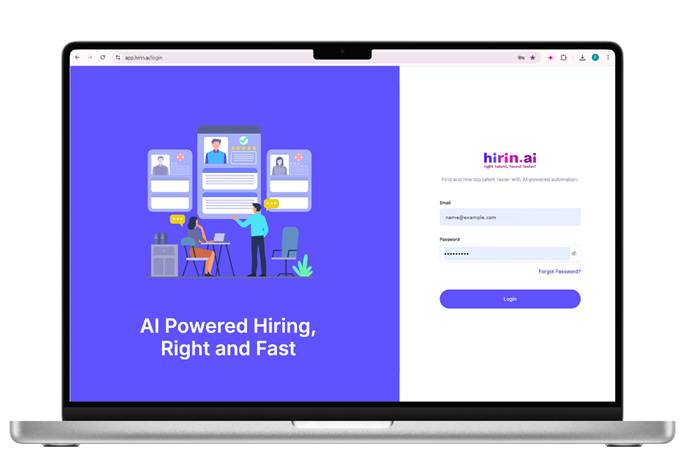
- Login to your hirin.ai account with Admin credentials.
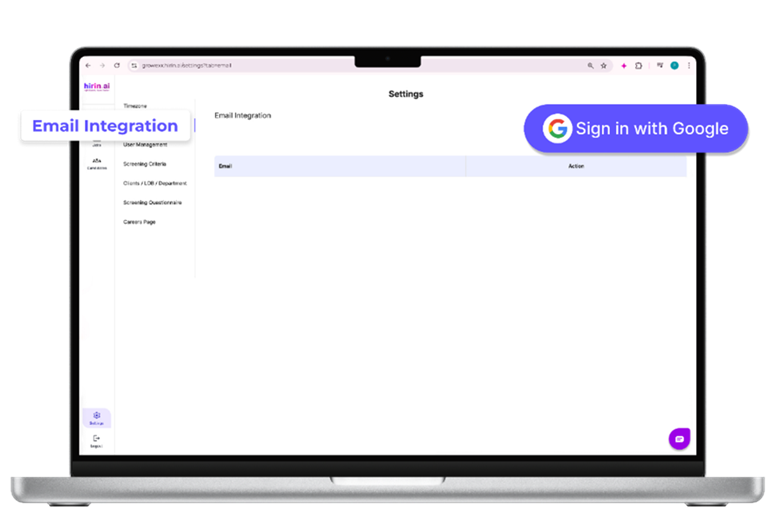
- Navigate to the Settings option which is available to the left side of page.
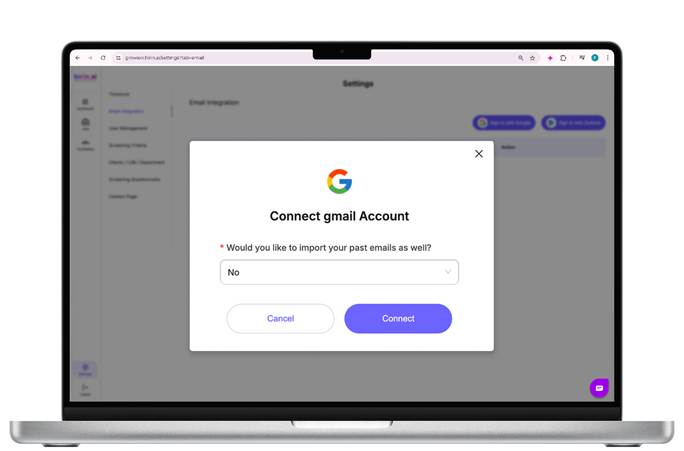
Option A: Select “No”
- If you don’t want to import your past emails:
- Simply select "No" from the dropdown.
- Click “Connect”.
- Proceed to sign in securely with your Gmail account.
- Only new incoming emails will be synced moving forward.
- Use this if you're starting fresh or only need future email activity.
Option B: Select “Yes”
- If you want to import past emails:
- Select "Yes" from the dropdown.
- A new field labeled “From Date” will appear.
- Choose the starting date from which you'd like to import past emails.
- Click “Connect” to proceed to Google sign-in and grant access.
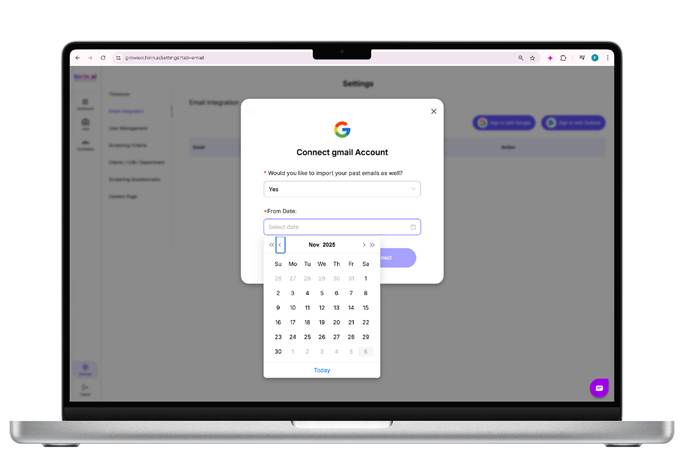
Figure 4: Option B: Select “Yes”
Google Authentication
- You’ll be redirected to a secure Google authentication page. Sign in using your Google credentials and grant the required permissions.
- After you add your email credentials, it will open the page below and then here you will have to click on the “Advanced” option given on the left-hand corner.
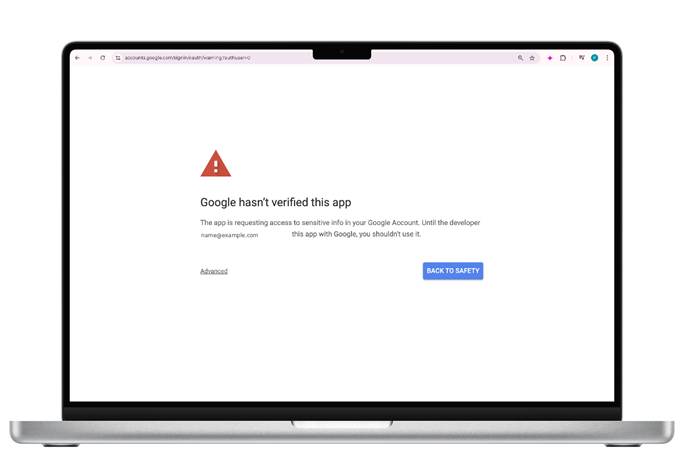
Figure 5: Google Authentication
Now it will give you an option of “Go to hirin.ai (unsafe)” as shown in the below screenshot, click on it
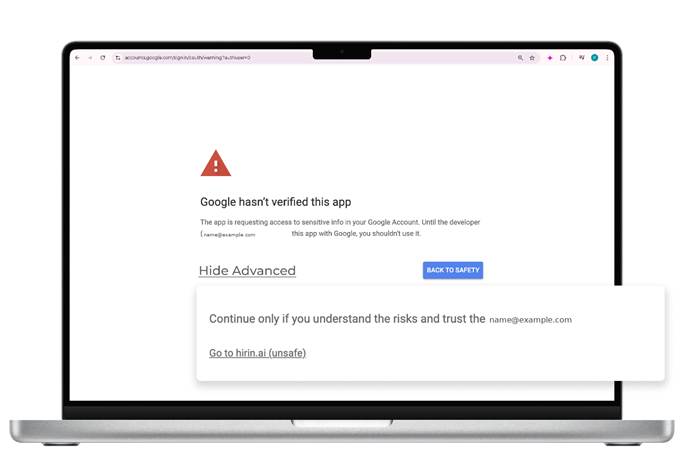
Figure 6: Google Authentication
After you click on “Go Unsafe”, you will be redirected to this Google permissions page. Simply click on “Continue”, and your Gmail ID will be successfully integrated with Hirin.
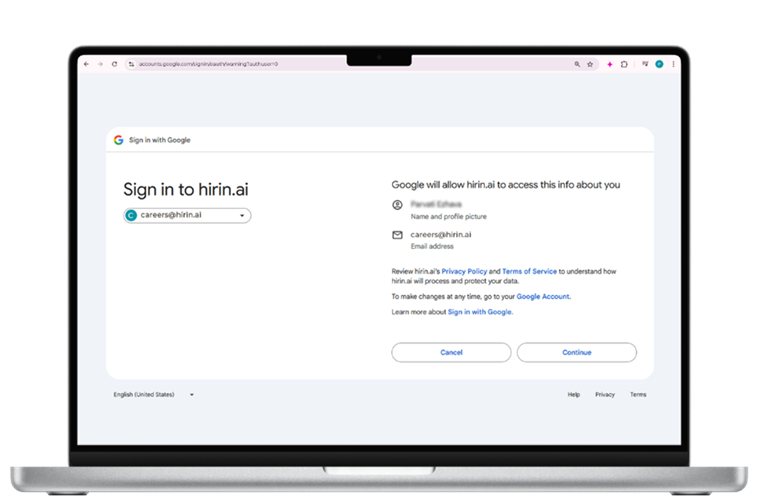
Figure 7: Google Authentication
Once you click Continue, you will be redirected back to the Hirin dashboard. Your email will now appear under Email Integration, confirming that your Gmail ID has been successfully connected.
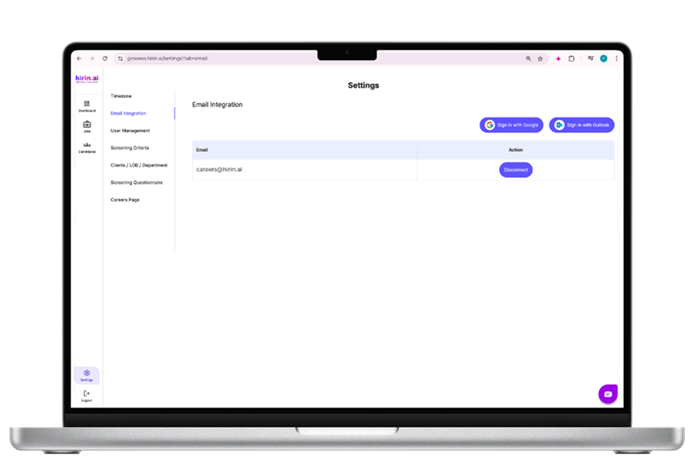
Figure 8: Google Authentication
Value for You
- Sync historical and future emails automatically
- Reduce manual email tracking effort
- Save recruiter time with unified email management
- Helps streamline application tracking and improve recruitment efficiency
Was this article helpful?
That’s Great!
Thank you for your feedback
Sorry! We couldn't be helpful
Thank you for your feedback
Feedback sent
We appreciate your effort and will try to fix the article